
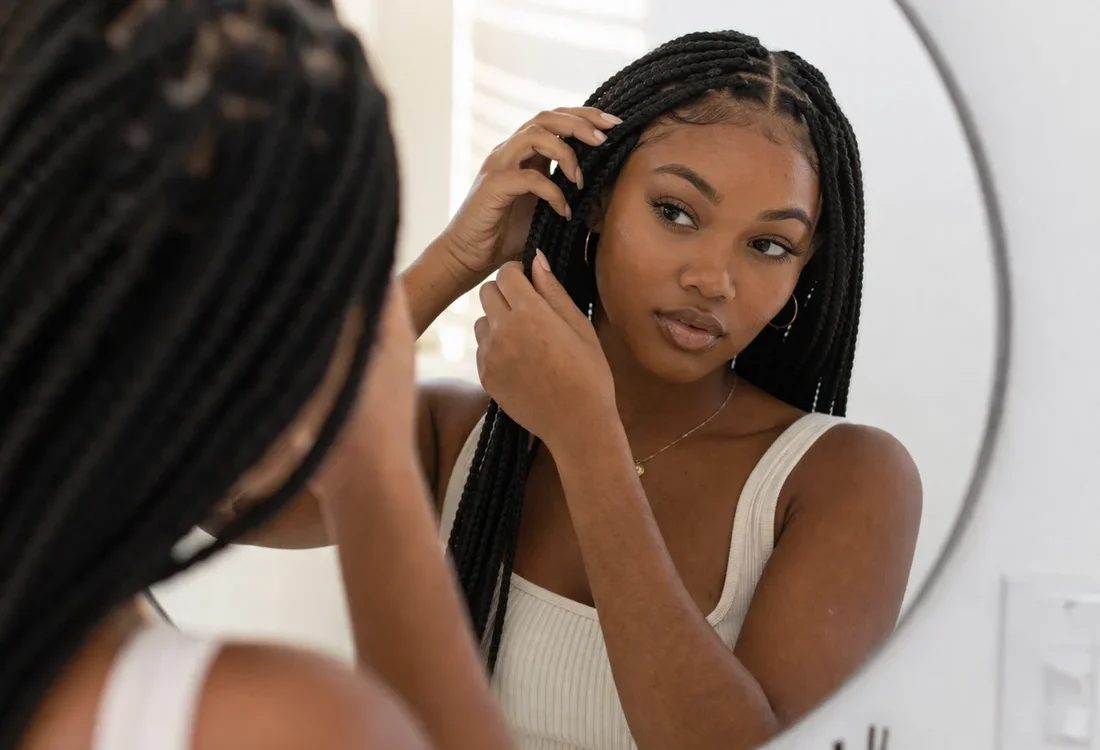
A single French braid can take between 15–40 minutes according to Elgin braiding salon The Braiding Place. To French braid your own hair, take a 2–3 inch section at your crown, split into 3 strands, cross right strand over middle, and then cross left strand over middle and repeat to your nape adding fresh scalp hair to a strand before each cross.
That 15–40 minute figure is worth sitting with, because the “10 steps” tutorials imply two. The same salon puts thick or long hair that needs smoothing first at 30–45 minutes. By the end of this page you will have the motion, the four ways this technique can fail, and a fair estimate of how many days of practice it takes before your hands no longer need instructions.
What is a French braid, and how is it different from a Dutch braid?
A French braid is a three-strand braid where before each crossing over, you add in a new section of hair from the scalp. The whole technique is in the first step.
A plain three strand braid only uses the hair you started with, so the braid hangs off the head. A French braid incorporates more and more hair as you braid, so it lies flat against the scalp.
French braid vs Dutch braid: the one-move difference
A French braid crosses the outer strands over the middle, and a Dutch braid crosses them under the middle. Kylie Studio Salon explains the difference with an overhand French braid appearing flat and seamless, and a Dutch braid showing the plait rising up to form a three-dimensional structure along the crown of the head.
You’ll have an easier time learning the French braid first, as crossing under the middle of the plait is less intuitive. French braiding also lets you inspect the braid for drifting off-centre, as the braid adheres closely to the scalp. You’ll want to use the crown of your head, meaning the flat top of your head, and the nape, the hairline at the back of your neck, as two landmarks to help guide your braiding. You’ll braid from the crown to the nape.
What you need before you start: length, prep, and tools
For a full French braid, you’ll need at least shoulder length hair. Shorter hair, or hair with a lot of layers, can still be braided, but you may need smaller add-in sections and a few bobby pins at the nape to secure stray hairs.
The prep standard working braiders ask clients for is simple: clean, fully detangled, and mostly dry rather than dripping. You’re probably okay to braid second day hair, as long as the scalp isn’t too greasy or caked in product.
Grip is the part that gets skipped. Dry shampoo and/or texture spray through the mid-lengths and ends are great for stopping the braid sliding back out on fresh/soft hair. The teasing helps create a grip at the crown. You can prep all your tools, your brush or wide-tooth comb, hairspray, texture spray, sectioning clip, hair elastic, and bobby pins before starting — once you’re three stitches in, you can’t go hunting. Setup a hand held mirror and/or another mirror behind you and one in front of you so you can easily check the back without letting go.
Should you French braid wet or dry hair?
Stylists genuinely disagree on this, and this is why you see a lot of tutorials move on from this step. Use a rule instead. When you are first learning to french braid use slightly damp hair. This makes the hair easier to manipulate and the sections don’t fly around. Use dry hair when you learn the motion and it becomes automatic. This provides a better hold, and the hair is less likely to snap when you’re pulling close to the scalp. When you want to create waves in your hair for overnight, go drier still. If your hair is curly or coily use slightly damp hair.
How to french braid your own hair, step by step
Read the whole list once before you start, then work through it without stopping to check your phone. Stopping to check the list will throw you off, and ruin the momentum. Your arms will tire, and momentum matters.
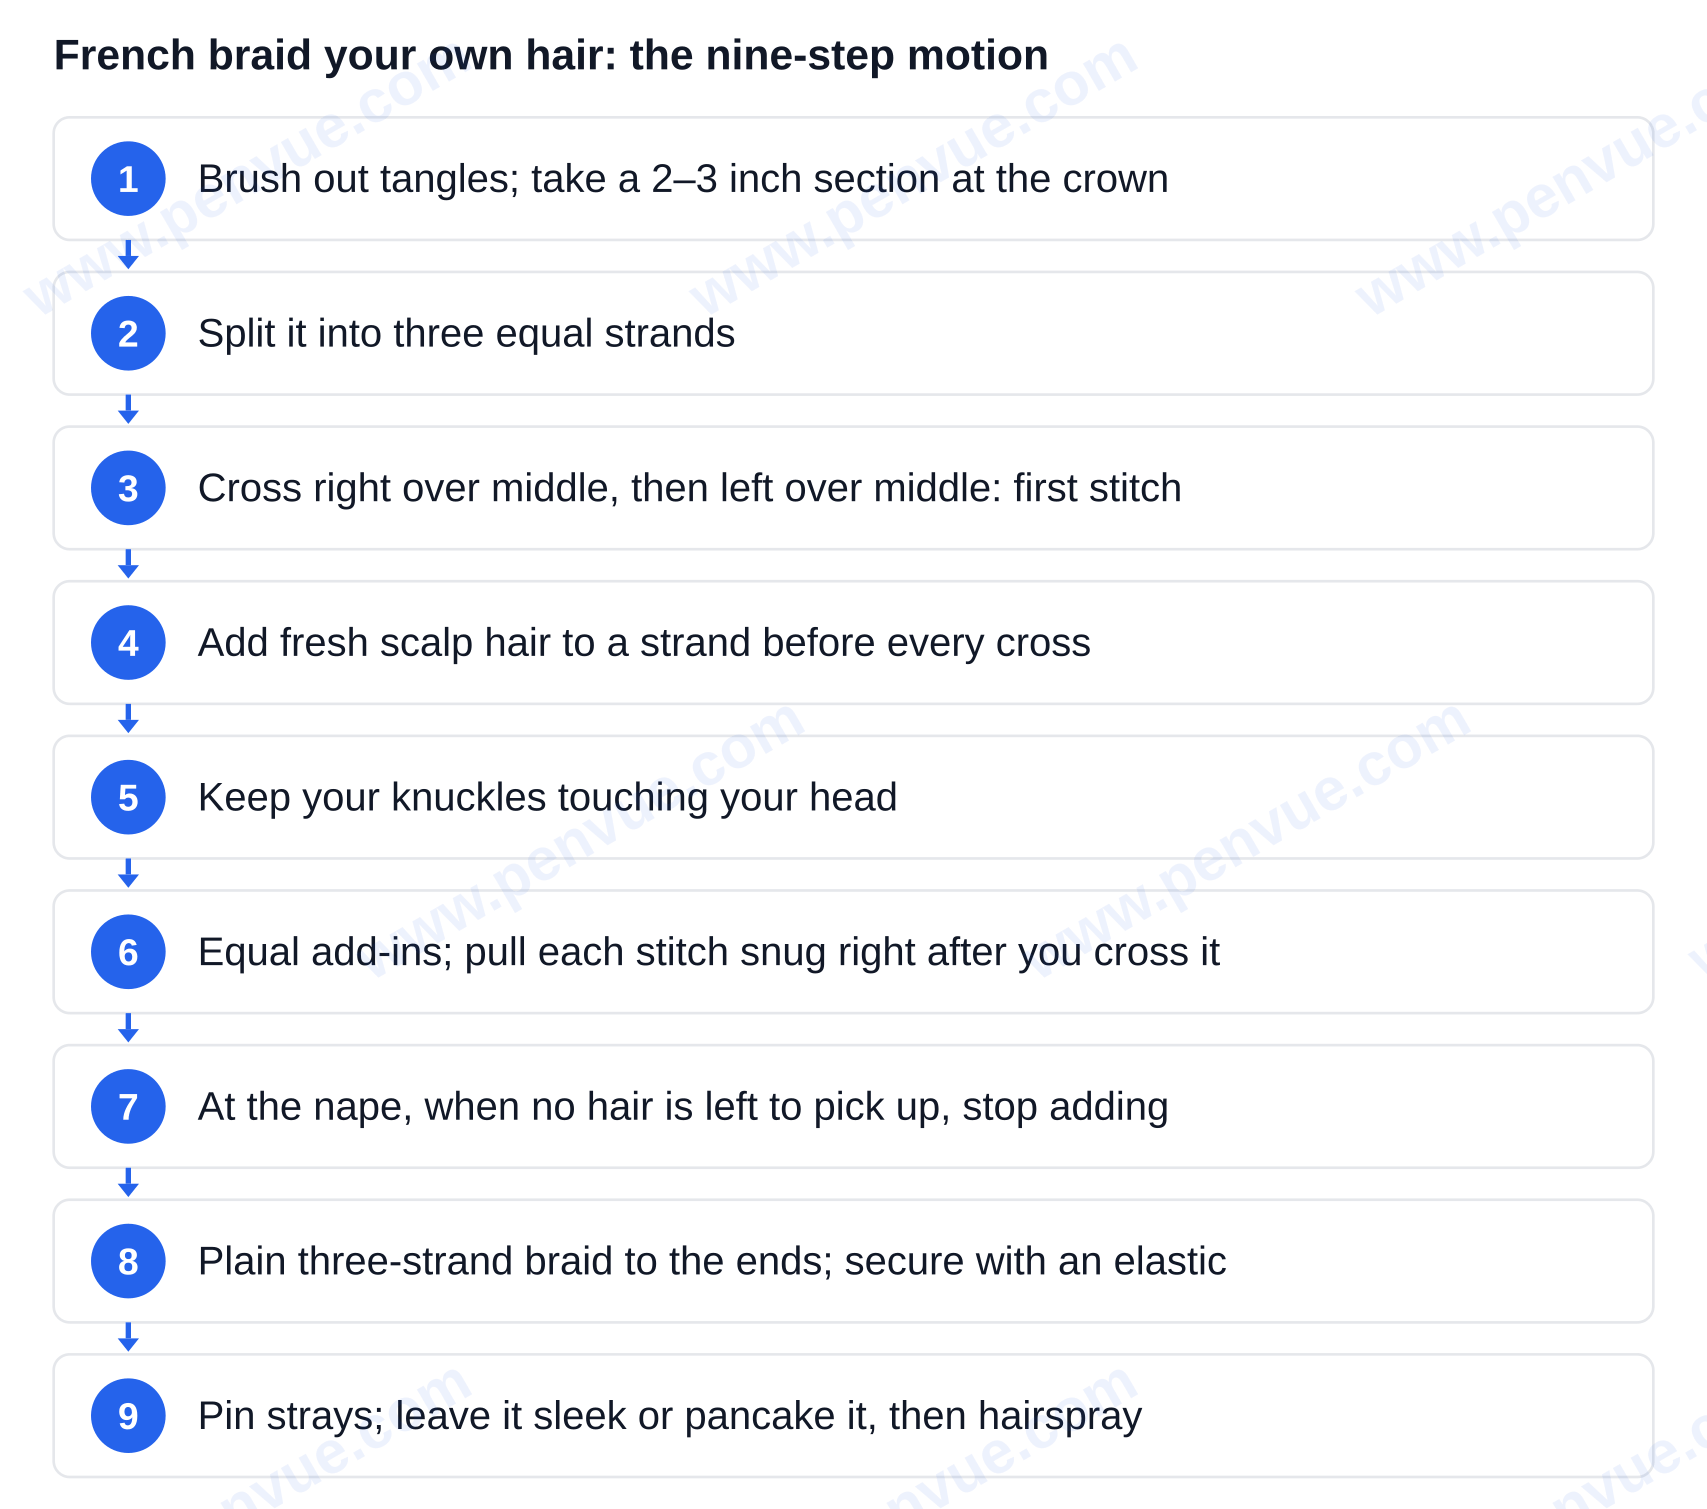
- Work section by section, brushing out tangles as you go, until you reach a 2–3 inch section at the top of your head. The front edge of that section should sit roughly as far forward as your eyebrows.
- Split the section into three equal strands. Hold the left and right strands with your hands, and let the middle strand rest between them.
- Cross the right strand over the middle. Then cross the left strand over the middle. You have your first stitch.
- Before the next cross, pick up a new piece of hair on that side with your index finger, merge it with the strand in your hand, and cross the whole thickened strand over the middle. Alternate this add-in with the other side for each stitch. Doing this is the only thing separating a French braid from a school plait.
- Always let your knuckles touch your head as you braid. Hands away from the head are the main reason for braids that look fine in the mirror and unravel within the hour.
- Add-ins should be the same size on both sides, and pull each stitch snug the moment after you cross it. Even tension is what makes a braid read as neat rather than lumpy.
- Work down to the nape of your neck. When your fingers can’t find any more hair to pick up on either side, you’ve reached the end. Stop adding hair.
- Keep it as a simple three-strand braid for the remainder of the length, holding the same tension you had at the scalp, and secure it with a hair elastic.
- Tuck and secure stray pieces with bobby pins, then decide on your finish. You can leave it sleek, or pancake it by gently pulling on the outer edge of each stitch for a fuller, softer braid. Hold in place with hairspray.
How to check the braid held before you move on
You can slide one finger under the braid along your crown. If it lifts away from your scalp by more than a fingertip, the first stitches are loose and the rest will follow. You can also check by shaking your head side to side a few times and looking again in the hand mirror: a secure braid will move as one unit, and a loose braid will show gaps opening along the top. You can also check the back of your head at the halfway point, not at the end. You can always correct a drift midway.
For your first couple of attempts, you can braid the side of your head that is within your field of vision, or you can braid someone else. The centre braid down the back of your head is blind, and blind is harder.
Why does my French braid come out loose, bumpy, or lopsided?
The reasons for it turning out this way is due to sections being too large, inconsistent tension, or completely losing control of a section. This causes most of the issues people have with French braiding. Adjusting for each of these issues is different, so match the symptom to its cause rather than just trying harder next time.
- Loose all over, usually unravels in an hour. Cause: your hands drifted away from your scalp so every stitch was tied with slack already in it. Fix: braid with your knuckles brushing your head and re-snug each stitch immediately after you cross it.
- Just the bottom is loose. Cause: trying to pick up hair once you actually ran out near the nape and dropped tension when switching to plain braid. Fix: commit to a plain braid once you run out of scalp hair to grab and pull the last stitches as tight as you can.
- Bumps, gaps, and visible loops near the nape. Cause: uneven and large add-in sections, usually because your arms got tired and you grabbed what was closest to you. Fix: equal and smaller add-in sections and swap which arm is doing the heavy lifting.
- Braid drifting to one side. Cause: feeding more hair with your dominant side without realizing it. Fix: count add-ins or check the back in a hand mirror halfway down.
- Dead on freshly washed hair. Cause: slippery hair can’t hold a stitch. Fix: dry shampoo or texture spray to add texture and body before you start, not after it fails.
When to rescue a bad braid and when to start over
Sometimes you can save a bad braid. If the top third is clean and only the length has gone soft, you can usually pin and pancake your way out of it. If the first three stitches are loose, take it out. A braid will never tighten from the bottom up. It is better to spend ten minutes redoing the crown of a braid than to let it slowly loosen for an hour.
Curly, fine, or short hair: what to do differently
Standard instructions are usually for one default head of straight to wavy, shoulder length hair. For hair that is not the default, change prep, not motion.
On curly and coily hair, you can skip the brush, and detangle with your fingers or a wide-tooth comb on slightly damp hair and take smaller sections, as curls will spring back and pop out of the stitch. For hold, you can use a leave-in conditioner with a light weight gel or a curl cream, and avoid heavy butters and oils, as they will make the hair too slippery to grip. Edge control will help tame the hairline. For Type 4 hair, band first: small elastics spaced down the length stretch the hair so the sections will behave before you attempt a braid at all.
Fine or very soft hair types have the opposite problem of grip. It’s volume. For this hair type, texture spray or dry shampoo is a must, as well as teasing the crown before you start. A generously pancaked braid will help the finished braid not look thin. For shorter or heavily layered hair, start the braid further forward, take smaller add-ins, and expect to bobby-pin the escaping layers at the nape instead of expecting one clean plait.
How long does it take to learn to french braid your own hair?
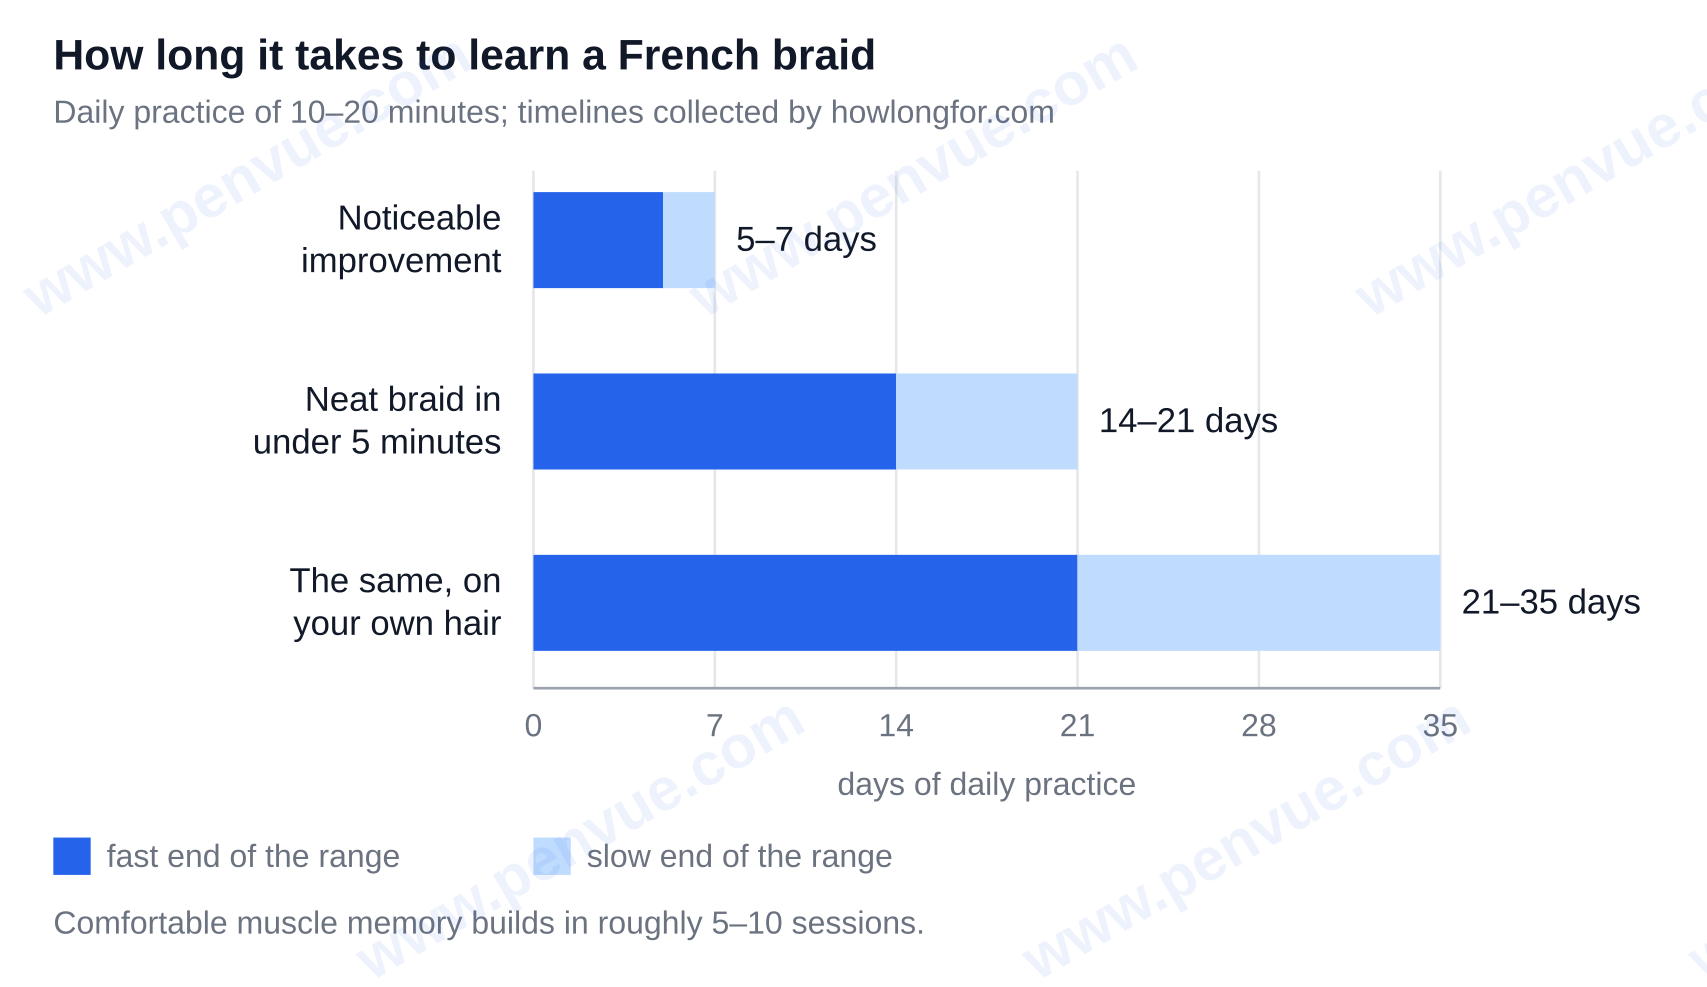
Longer than one evening, and less long than it feels on attempt number two. Based on braiding-practice timelines collected by howlongfor.com, most people see noticeable improvement within 5–7 days of daily practice and build comfortable muscle memory in roughly 5–10 sessions. Neat and secure braid in under five minutes is typical at around 2–3 weeks. Braiding your own hair adds another 1–2 weeks to the process because you are working blind and fighting arm fatigue the whole time.
Short daily practice of 10–20 minutes beats one long practice on the weekend. This is hand muscle memory not knowledge. Expect the curve. Your first attempt will be bad, your third will be loose, and the one that finally holds will feel suspiciously easy. People quit at attempt two, not because they can’t do it.
Put the practice to use: overnight heatless waves
A French braid grips close to the scalp, so it holds a wave pattern well overnight. Heatless-wave guides on Lemon8 recommend French braiding hair at about 80–90% dry. They suggest using the ‘sweet spot’ which is achieved by air-drying or blow-drying and cooling the hair, then lightly misting it.
If you can’t get the ‘sweet spot’, you may end up with frizz instead of waves. After braiding your hair, cover the braid with a silk scarf or satin bonnet to help maintain the shape, and clip it near the crown so it doesn’t pull while you sleep. In order to prevent hair from escaping the braid by morning, you can also braid the face-framing pieces slightly tighter.
Once the basic motion is reliable, the variations cost you nothing new. The Right Hairstyles’ guide builds double French braids from an even centre parting straight across the head and repeats the same braid on each side; a front braid swept into a low bun and a half-up braid that leaves the length loose use the same hands.
Learning how to french braid your own hair requires new habituation of a braid you already know: add hair before every cross, and keep your hands flat against your head. It is important to pay attention to tension, section size, and slippery hair, because everything that goes wrong traces back to those three, and all three are fixable. So start here — texture spray through dry mid-lengths, then braid the side of your head where you can watch your fingers. Ten minutes a day this week, then try the back. After that, the same two hands doing the same move in a different direction are used to create every other braid you want. There’s plenty more to dig into on Penvue.